Write your own GitHub clone
Tagged with: [ github ] [ git ]
Shower thought: What would it take to write your own GitHub clone? Answer: not that much! I’ve spend a few hours on tinkering with some of the basic concepts, and it turns out it’s actually quite easy to set something up from scratch. And before you all go and write comments that it not feature-complete: yes, I know. But most of them are fairly trivial to implement though, and my goal was to actually see if we can get the foundations up and running. Implementing things like an issue-tracker and webhooks isn’t part of that.

The basic blocks
First we need to identify the basic blocks that will make up our github clone. I’m convinced some of the concepts shown here are not scalable enough to take care of millions of users and repositories, but I don’t think it will fall flat on its face with just 10 users. And this
The site
First of all, we need a website, ours will be called gitstash, mostly due to lack of creativity. I bet anything that starts with the word “git” will be acceptable these days now. Main goal of the project is to easily browse different repositories, branches and view files. No merging, pull requests or anything is possible though, but that would not be very hard to implement once the basic foundation is in place.
I’ve opted for PHP in combination with Symfony (2.8). Mainly because it’s my go-to language/framework and it’s fairly trivial to setup a simple site with user management (FosUserBundle) so I can focus on this that are important.
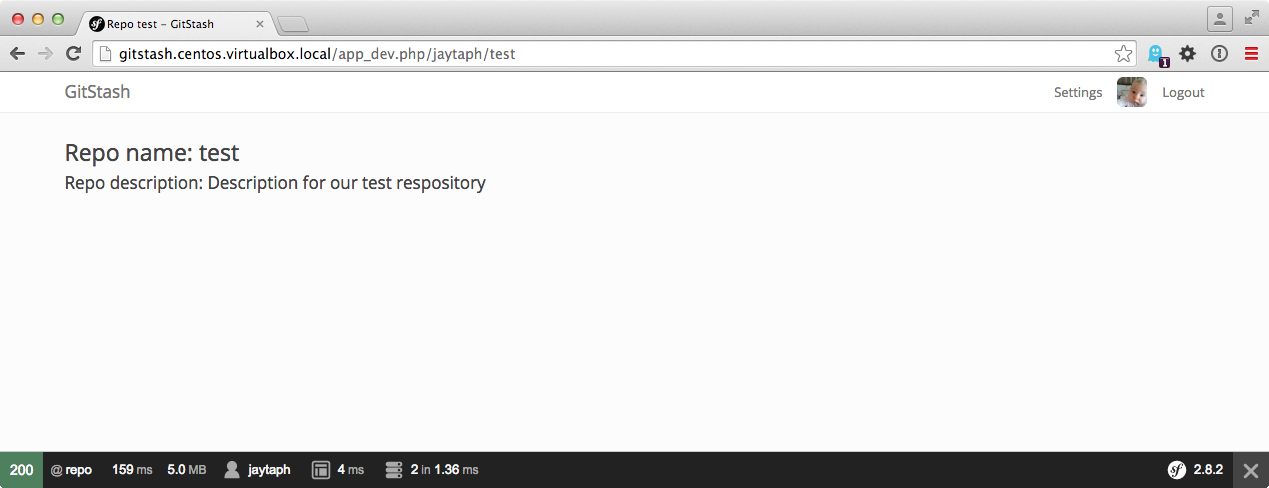
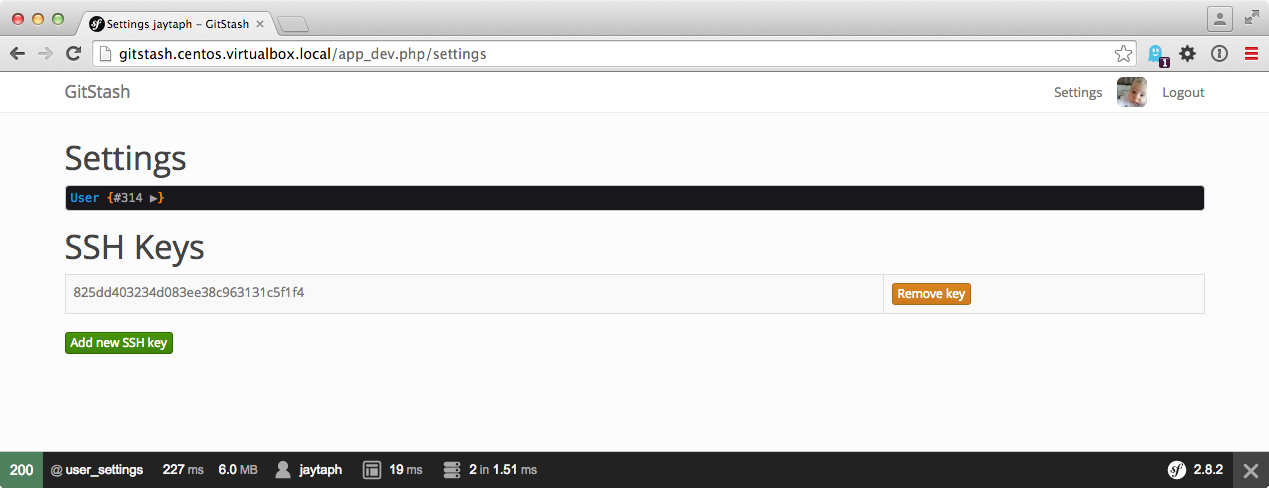
In about 15 minutes, I can visit http://gitstash.centos.virtualbox.local/app_dev.php/jaytaph to view
information about the jaytaph user, and actually see
http://gitstash.centos.virtualbox.local/app_dev.php/jaytaph/test to view the test repository under its account.

There is nothing present in here, but from the website point of view we just loaded a repository entity for JayTaph’s
test repository (it currently holds only the name and description of a repository). For now this is ok: there is not
a lot else we actually could do without real repositories at this point.
Setting up a repository
How is it that we can do a git clone git@github.com:user/repo.git, and it magically works? Actually, it’s quite simple
as git provides the functionality. Git allows us to work with repositories locally, but also on remote repositories via
different protocols, where the most used ones are HTTP(s) and SSH. In our example, we are using SSH communication, which
can be seen by the fact that we use a <username>@<host>:<path> structure. Notice that everybody logs into github with
the same user: git: it’s just the paths that are different. All we need to do, is setup a structure on our server to
which git can communicate to.
Setup a user and basic SSH
So let’s get something similar setup on our system. I’m using a CentOS system, but any linux type system works too. Getting this up and running locally on a Mac might work too, but windows users are on their own.
I’ll add a new user to my system which I call git as well, but it can be any user you want. I think adduser git will
suffice, but this is not a step-by-step tutorial. I use passwordless logins, so we will be using ssh-keys to actually
log into the account (password logins will not work, as everybody will log in as the user ‘git’).
From any (remote) account which you want to log in from, get its id_rsa.pub info, and store this into the git user’s
.ssh/authorized_keys file. This allows you to passwordless login into the git user account. Ultimately, when you issue
ssh git@127.0.0.1, it should automatically log into the git user with a shell. Replace 127.0.0.1 with the actual
name or IP of the server where you created your git user account.
Setup a bare repository
Now that we can manually connect to the git user via SSH, we can try to get git working as well. First, we need to manually create a repository in the correct directory. Log in as the git user and issue the following:
$ mkdir jaytaph
$ cd jaytaph
$ git init --bare test.git
This will create a directory jaytaph/test.git, and if you look closely inside this dir the files in here are similar
to what you would see in a regular .git directory in any of your projects (in fact, it’s exactly the same). Note that
the directory name has the .git extension. This is not really needed, but it looks nice.
Now, we could test to see if we can connect:
$ git clone git@127.0.0.1:test/repo.git
Initialized empty Git repository in /home/jthijssen/repo/.git/
warning: You appear to have cloned an empty repository.
Well, let’s ignore the the warning: we’ve just cloned a repository. Yay! Let’s do some more work on it:
$ cd repo
$ echo "hello world" > README.md
$ git add README.md
$ git commit -m "initial commit"
$ git push origin master
repo git:(master) git push origin master
Counting objects: 3, done.
Writing objects: 100% (3/3), 229 bytes, done.
Total 3 (delta 0), reused 0 (delta 0)
To git@127.0.0.1:test/repo.git
* [new branch]      master -> master
Ok, that works too! So as you can see, it’s fairly trivial to setup a remote git repo (but then again, that’s the whole point of a distributed VSC).
Restricting access
But there are some issues: we can push and fetch, but we could also simply log into this git account: we could even see other people’s repositories and simply check them out. So we need to restrict this somehow, just like GitHub has done:
$ ssh git@github.com
Hi jaytaph! You've successfully authenticated, but GitHub does not provide shell access.
Connection to github.com closed.
It seems that we can issue git commands, but not anything else. On our own system, this is very simple too: all we need
to do is change the “shell” of the git user to something more restricted. Git provides us with a ready-made shell for
this called git-shell. This shell allows certain git commands (needed for pushing and fetching repositories), but
nothing else. Thus, you can use it to handle git repositories, but not to log in. Exactly what we need (for now):
$ sudo echo "/usr/bin/git-shell" >> /etc/shells
$ sudo chsh -s /usr/bin/git-shell git
What we did is tell linux that /usr/bin/git-shell is a valid shell. Secondly, we change the default shell of the git
user to this new shell. Note that this shell is a simple binary application, but it could as well be a bash script, or
even a PHP script: something we need to deal with later on. Let’s see if it works:
$ git fetch origin -v
From 127.0.0.1:test/repo
  = [up to date]      master     -> origin/master
Git seems to work fine. Now let’s try to login:
$ ssh git@127.0.0.1
fatal: What do you think I am? A shell?
Connection to 127.0.0.1 closed.

$ ssh git@127.0.0.1 ls
fatal: unrecognized command 'ls'
Ok.. shell access is denied! Hurrah!
Tying it together, and figure out what we miss
So let’s see: we can create repositories, we can push/fetch from them through SSH, we have a simple site where we can login/register.
We create some functionality that allows us to create new repositories via the site. All we need to do is execute a
git init --bare in the correct directory (<username>/<repo>.git). You might need some tinkering with file
permissions since your webuser is probably not git, but nothing that ACLs cannot fix I guess.
Running into some trouble: dealing with SSH keys
When a new user registers on the site, they can create new repositories, but they cannot access them through SSH. This
is because authentication of users happen based on the ~git/.ssh/authorized_keys file. This means that every new user
must somehow add their ssh-key to this file. We could automate this easily, but maintenance would be hell. Also, what
happens when have a million users (with thus, a million keys). Or worse, when users have multiple keys. Or even worse
than that: when dealing with multiple servers running repositories so we need to maintain and keep in sync multiple
authorized_keys files.
Fortunately, there is a great solution for this problem. OpenSSH has a patch that adds a AuthorizedKeysCommand option
to SSH. This points to an application that needs to output something that is similar to the contents of a
authenticated_keys file. But, since it’s an application, it could connect to a database, fetch all stored keys there, and
return those keys. This way, we don’t need to manipulate files manually: all we need to do is to have a database table
with all ssh-keys present. Fairly trivial to implement:
#!/usr/bin/env php
<?php

$mysqli = mysqli_init();
$mysqli->real_connect('127.0.0.1', 'gitstash', 'gitstash', 'gitstash');

$result = $mysqli->query("SELECT u.name, k.sshkey FROM authorized_keys k LEFT JOIN user u on k.user_id = u.id ");
foreach ($result as $row) {
    printf('environment="GITSTASH_USER=%s" ssh-rsa %s', $row['name'], $row['sshkey']);
}
$mysqli->close();
Don’t worry about the hideous code. Basically this file connects to a database, selects all keys (joined by a user),
and outputs this SSH key. It prepends this with environment="GITSTASH_USER=<username>" that we need later on. I’d
reckon you want something more cachy, like storing this info in Redis or something so you don’t need to query your DB
on each SSH connect.
This AuthorizedKeysCommand patch is by default present in CentOS / RedHat distributions. A quick check in the source
files of Debian/Sid’s openSSH doesn’t show the patch. So I guess you’re out of luck there (but it’s always possible to
patch this in yourself). Also, for testing, you don’t really need it, but you must manually add the ssh-key info into
the git account’s .ssh/authorized_keys file.
Solving the issue of many keys
So we have solved the issue of file maintenance, but when we have a million keys inside our database, this will still
output a million keys, which openSSH must parse and see if a valid key is present (which hopefully there will be only
one). It would be much more scalable if we could provide openSSH with just a single key, since we can do this check as
well. All we need to know is with which key the user connected (either the key, or the fingerprint of the key). There
is an openSSH patch available that will pass this information to the AuthorizedKeysCommand application, but
unfortunately this patch is not present in RedHat. Otherwise, we could simply adjust the SQL query into something like:
$result = $mysqli->query("SELECT u.name, k.sshkey FROM authorized_keys k LEFT JOIN user u on k.user_id = u.id WHERE k.fingerprint LIKE :fingerprint");
in which we store the fingerprint in the database, and we get the fingerprint through for instance $argv[1] from openSSH.
That way, we only need to output one of the ssh-keys, instead of the millions, saving a lot of parsing time on each single
connect (which will be a lot when dealing with a million users I’d reckon).
But when we deal with a million users, we probably have dedicated machines dealing with SSH connections, that could have these patched openSSH servers.

Dealing with access
We can actually connect to repositories we created. But unfortunately, we can also connect to repositories from others, even if we have no permission to them (provided we have an access control system in place, which we do not have yet). So for now, let’s assume only users who are actually the owner of a repository are allowed to push and fetch from that repository. Thus, we should check to see if the key that we connect with from a SSH connection, matches with a key from the owner of the repository we want to check. This is not easy at the moment, since we A) do not have any information about the key or user that is connecting and B) we do not have information about which repository is accessed.
First thing first, let’s try and figure out who is connecting. Remember that in our customer authorized key command we
not only return the ssh key, but also some prefixed info in the format of environment="GITSTASH_USER=%s". The %s is
filled with the username for that given key (as found by the join in the query). OpenSSH will use this information to
set an environment setting called GITSTASH_USER with the given username. A key linked to the user jaytaph will
return “GITSTASH_USER=jaytaph”, and a key linked to the user foobar will return GITSTASH_USER=foobar. Easy peasy.
Basically, this is how GitHub can return the string Hi jaytaph! You've successfully authenticated, but GitHub does not
provide shell access. when you try and connect directly via SSH. It knows the SSH key used for connection is attached
to the account jaytaph. So now we have solved our first issue. On to the next…
Shell revisited
We know who is connecting, based on the environment setting GITSTASH_USER. Now we need to find out what a user wants
to do, and to which repository. Unfortunately, this is where the default git-shell application will fail us. It’s not
capable of handling this kind of access control (although, it can do some control). Our best bet is to actually create a
custom shell instead. Fortunately, this is not hard to do:
#!/usr/bin/env php
<?php

if (! isset($_SERVER['SSH_CONNECTION'])) {
    print "Only SSH connections are allowed.";
    exit(1);
}

if ($_SERVER['argc'] != 3 || $_SERVER['argv'][1] != '-c') {
    print "This account is only used for git activity. Shell login is not permitted.";
    exit(1);
}

if (! isset($_SERVER['GITSTASH_USER'])) {
    print "It seems I cannot figure out who you are.";
    exit(1);
}

$allowed_commands = array(
    'git-receive-pack',
    'git-upload-pack',
    'git-upload-archive',
);

// Make sure "git foo" is seen as "git-foo"
if (substr($_SERVER['argv'][2], 0, 4) == 'git ') {
    $_SERVER['argv'][2][3] = '-';
}

preg_match_all('/"(?:\\\\.|[^\\\\"])*"|\S+/', $_SERVER['argv'][2], $matches);
$git_args = $matches[0];

if (! in_array($git_args[0], $allowed_commands)) {
    print "Incorrect git command.";
    exit(1);
}

$cmd = escapeshellcmd($git_args[0]);
array_shift($git_args);
array_walk($git_args, function($e) { return escapeshellarg($e); } );

// @TODO: Here be actual access control

$cmdline = $cmd . ' ' . join(' ', $git_args);
passthru($cmdline, $status);

exit($status);
Don’t try and run this code in production. It’s probably not very secure. But, it shows that we could pretty easily create a custom shell that will automatically be run as soon as somebody logs in (or logs in via SSH).
First, we check if SSH_CONNECTION is set, indicating that we are connecting through SSH. This shell is pointless when
using as an interactive login shell like bash or zsh. The shell gets a list of command line arguments that must be
executed. If it doesn’t match -c <command>, it means it’s not a git-command, but somebody trying to login directly.
Remember that we set the GITSTASH_USER environment setting through our authenticatedKeysCommand. Now is a good time
to see if this setting is present. This way, we know who is actually logging in.
Next, we do some magic where we assume that a command in the format of git foo is normalized to git-foo. I’ve taken
this from the actual git-shell source. I think it’s mostly
for dealing with older git clients or somehting, so better add it.
Then we parse the arguments of the command, while making sure we deal with quotes properly. Now, we have a $git_args
array with a command that must be one of the $allowed_commands commands. For instance, when you issue a “git fetch
origin” command in the repo git we created, the actual command will become (since the ‘origin’ points to
git@127.0.0.1:test/repo.git).
git-upload-pack '/test/repo.git'
So now we have all the info we need for access control:
$git_args[0]isgit-upload-pack.$git_args[1]is/test/repo.git.$_SERVER['GITSTASH_USER']isjaytaph.
We can do a database lookup to see if the repo repository found under the user account test is writable (since we do a
git-upload-pack). This part is not implemented in our shell, but should be fairly trivial to do so yourself.
So, now we have a website where we can create users, repositories and add ssh keys. We have an SSH server that
dynamically creates authorized_keys content to give access and to identify users. And last we have custom shell (called
gitstash-shell) that allows us to do some more dynamic access control.
Try and push/fetch information to and from repositories. It should work!
Plumbing or porcelain?
Now the basic infrastructure is complete. All that is left to do, is to display repo, branch and commit information on
our website. This actually is trivial, but in order to make it efficient, we probably need to do some additional
caching. For instance, we can simply figure out which branches and tags are available by looking at the files in
/<user>/<repo>.git/refs/heads and /<user>/<repo>.git/refs/tags. Each file is a branch, and the content of the file
is the commit to which the branch points to.
But figuring out what files are stored, which users and what log entries are committed is a bit more work. For this, we need to move away from so-called porcelain commands, and dive into plumbing commands.
Porcelain commands are the “frontend” git commands you use every day: push, fetch, pull, log etc. But these
commands are merely simple shells to backend commands that do the actual work. These commands are called plumbing
commands, like write-tree, ls-files, commit-tree, merge-base and others. It’s quite possible to work with git
with just plumbing commands, but it would take a lot of additional work of keeping track of hashes everywhere.
Take a look at the following commands:
$ cd /test/repo.git

$ cat refs/heads/master
00f2d8ffbbed7f0062e4f16c8470b02ac1cfbffa

$ git ls-tree 00f2d8ffbbed7f0062e4f16c8470b02ac1cfbffa
100644 blob 3b18e512dba79e4c8300dd08aeb37f8e728b8dad	README.md

$ git cat-file -p 3b18e512dba79e4c8300dd08aeb37f8e728b8dad
hello world
What we’ve done here, is figure out the commit of the HEAD of the master branch. We can do a ls-tree on that commit
to see which files are stored in there. In this case, a single blob connected to the name README.me (without going too
much in details, git stores file contents and file paths differently). Next, we display the contents of that commit
connected to readme, which says hello world.
A more mature repository could look something like this:
$ git ls-tree 4e711697afe3959d9d1e7d40bceb1a02866428c1
100644 blob 5109afc648a91639aeed61bf1b5001dc763cf608	.gitignore
100644 blob 2dc5d4ae1c06f34fa32058d30864e6535f10c34d	.travis.yml
100644 blob d4312543da2527f1aca1d319b9f9bf8c42688dca	LICENSE
100644 blob ed72abeaed8b2975c6a962d64c8ab5c41d795310	README.md
100644 blob fbb7dce7c50584bf86f0d617e81960bc0ae1675f	TODO
040000 tree 68b05b1c2b7afe0879c64ef257b3a351341c329e	bin
100644 blob 1990e62457ac03337a957cbc5f0bf69b128748a5	build-phar.sh
100644 blob 5fc21bc53121798adf9f67ffc451d6df4d50e6aa	composer.json
100644 blob d3fa1f60926daf8f8f7f0903e0972f8ba4151b79	composer.lock
040000 tree 71bd304cf6bbe6eeb7f7a55bfc5ea6b22b0776a0	lib
100644 blob ba439b41e828447a3dd6753af2809e57d02481ca	phpunit.xml.dist
100644 blob ca68be920dd4c839d26f82728bffea76bd48e1d2	unserialize.php
Notice that we have files stored as blobs, and directories stored as trees. We can actually display those trees as well:
$ git ls-tree 68b05b1c2b7afe0879c64ef257b3a351341c329e
100644 blob c1475e21a28e3620ad4aa07172d1186f6e52afa6	transphpile
Commits are stored the same way, but with a different type. Instead of a tree, we could display the contents of
4e71169 as well:
$ git cat-file -p 4e711697afe3959d9d1e7d40bceb1a02866428c1
tree e20cdd50b63bafa02886feba8603ebae31819f6f
parent d106cb24ea76b2a74b7653d8eac3311ccf655f5c
author Joshua Thijssen <jthijssen@noxlogic.nl> 1455273809 +0100
committer Joshua Thijssen <jthijssen@noxlogic.nl> 1455273809 +0100

Using correct assignment, and checking on \Closure
ls-tree figured out this was a commit, but it noticed that the tree stored is located in tree
e20cdd50b63bafa02886feba8603ebae31819f6f. Thus git ls-tree 4e711697afe3959d9d1e7d40bceb1a02866428c1 would be the
same as git ls-tree e20cdd50b63bafa02886feba8603ebae31819f6f.
We also see a “parent”, which is the previous commit, the author, committer and a log message.
Displaying info
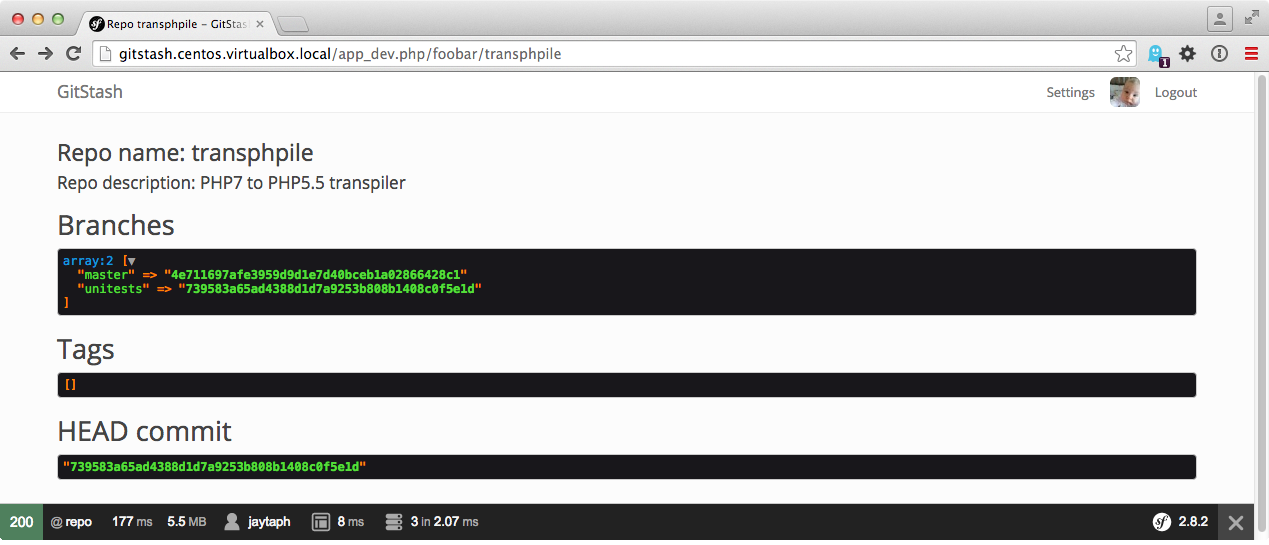
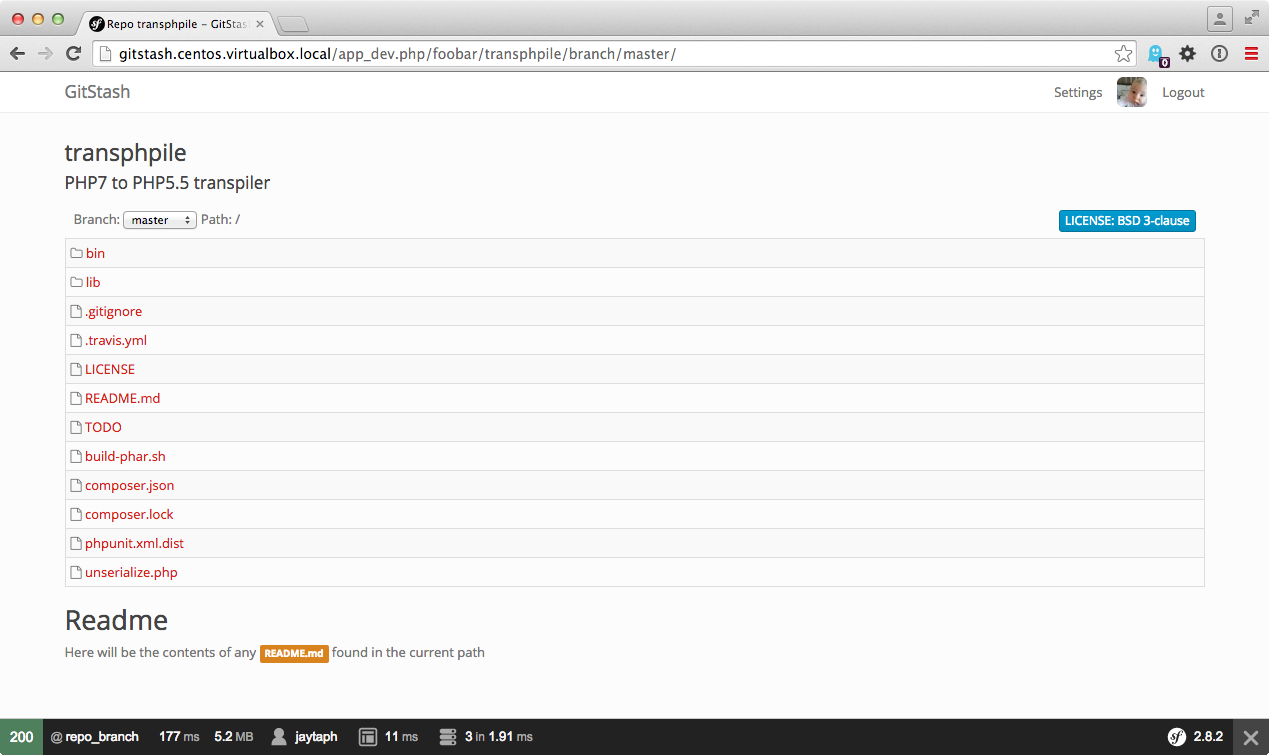
All we need to do, is make some neat service that can execute these plumbing commands for us and wrap it in a neat little service. We probably want to do some caching so we don’t have to fetch it continuously from disk. Overall, without too much info, we can have something like this:


Conclusion
Are we there yet? Well, no, not even close. But it shows that in just a few hours, we can have a basic template up and running. It was mostly about figuring out how such systems work, and it probably helps if you know a thing or two about git itself. And it turns out, with just a few small scripts, you can simply create your own GitHub clone without too much difficulty.
Note: I’ve been asked if the code will be online. Yes, I will put the code online on GitHub. The irony is not lost here..